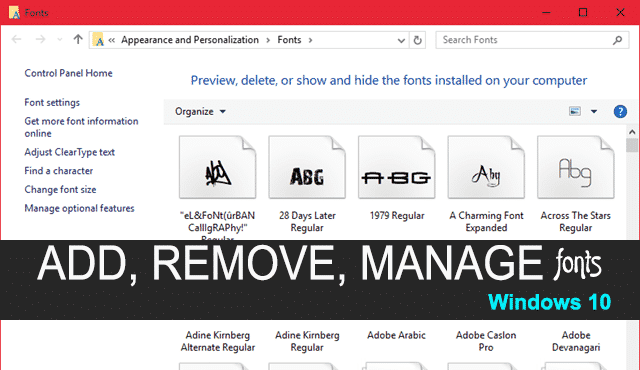
How to Install, Delete and Manage Fonts in Windows 10
If you have recently upgraded your computer, and not familiar with the font installation process, then this may tough for you. Installing fonts in Windows 10 is very easy as the earlier versions. Today you’ll learn how to Install, Delete and Manage fonts in Windows 10.
View the Installed Fonts
There are two way to view the installed fonts in Windows 10.
Way 1: Click on Start button and search for fonts. Just click on “Fonts” folder to view the fonts list.

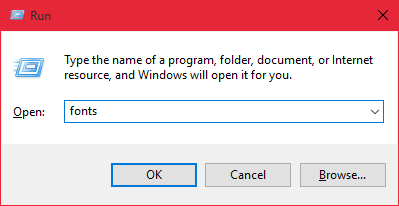
Way 2: Open Run command by pressing Start + R button in your keyboard. Now type fonts and press Enter. That’s it.
Install fonts in Windows 10
There are also two ways to install a font on your system.
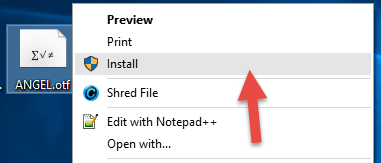
Way 1: Right-click on the font file and choose Install option. This process takes few seconds for installing the font.
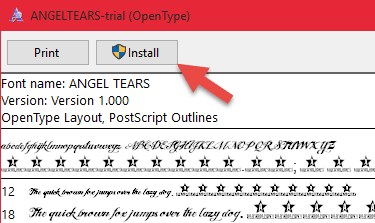
Way 2: Double-click on the font file and click on Install option to add a new font on your computer.
Delete a Font
Deleting a font is very easy. In order to delete a font, you first need to open the Fonts control panel. Search for fonts in the start menu and open it.
- Change Windows 10 Title Bar Color
- Turn off Automatic Updates in Windows 10
Here you’ll see a list of all the installed fonts. To remove a font, just Right-Click on it and choose the Delete option. It’ll show you a confirmation popup box. Just choose Yes to delete that font.
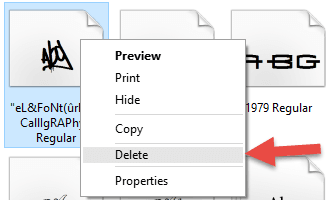
To remove all fonts on your system, press Ctrl + A to select all fonts, Right-click on a font and choose Delete option.
Manage Fonts
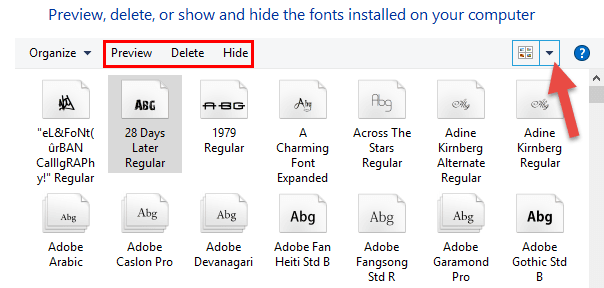
In the Fonts control panel, you can Preview, Delete and Hide fonts. Hide option is used to hide a font from installed programs. You can also change the view style like folders.
This is all about Install, Delete and Manage fonts in Windows 10. I think all these processes are already known by daily computer users.