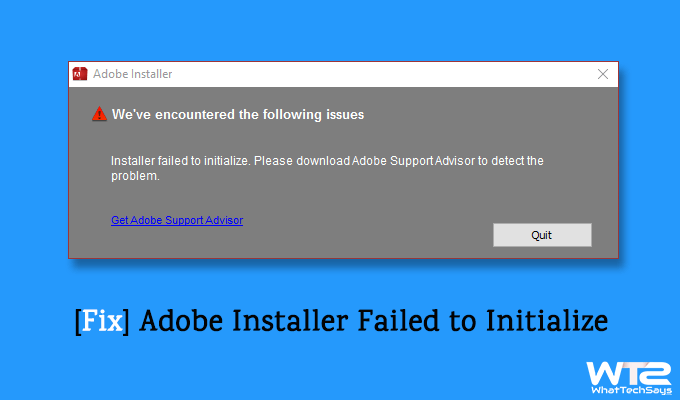
How to Fix Adobe Installer Failed to Initialize Error
Adobe Support Adviser tool is used to analyze the information related to installation errors. But, my bad luck, this tool is no longer available to download. Adobe has been discontinued this tool and improved their installation support mechanisms.
- [Fix] vcruntime140.dll is Missing from Your Computer
- [Fix] There was a Problem while Playing in YouTube
- How to Fix Application not found Error in Android
Restart is the solution of many problems. I restarted my computer a couple of times, cleared the junk files as well as fixed the registry errors, but they didn’t help. After a bit of research, I was able to know the exact problem and fixed that error.
How to Fix Adobe Installer Failed to Initialize Error?
I came to know; this issue occurs for both Windows and Mac users. So, In this tutorial, I am going to show you, how to fix installer failed to initialize in Mac and Windows systems.
Note: I don’t have a Mac computer. The tutorial regarding Mac system is only my research to solve your issue. I hope it is going to help you.
1# Use Adobe Creative Cloud Cleaner Tool

The Creative Cloud Cleaner Tool helps you to remove or uninstall Adobe CC and CS products that may have become corrupted or may be causing some problems regarding a new installation. This tool is very useful for both Windows and Mac systems.
Follow this link to get the Cleaner Tool and use it to remove the leftover files. This page has all the information regarding the uninstaller tool for both operating systems.
2# Rename the OBBE Folder (100% Working)
This is the easiest way to fix installer failed to initialize issue. After the uninstallation, you basically left some files behind your computer. Once you remove these files, you could fix this issue.

On your computer navigate to the below path and locate the OOBE folder. Once you were done, just rename OOBE folder to OOBE.old. You can do the same thing with your Mac computer.
- 64-bit Windows: Program Files (x86) → Common Files → Adobe → OOBE
- 32-bit Windows: Program Files → Common Files → Adobe → OOBE
For Mac Systems:
- HD → library → application support → adobe → caps
- USER → library → application support → adobe → OOB
After renaming the folder, you could initiate the setup file. On the Mac OS, you just need to rename the OOB folder to OOB.old and you are done.
This was the tutorial on how to fix Adobe installer failed to initialize issue in Windows and Mac. I hope this could help you to solve your problem. If you have another solution regarding this error, then don’t forget to share with us.
https://www.youtube.com/watch?v=GNexh8auSSI