Customize and Remove All Tiles from Windows 10 Start Menu
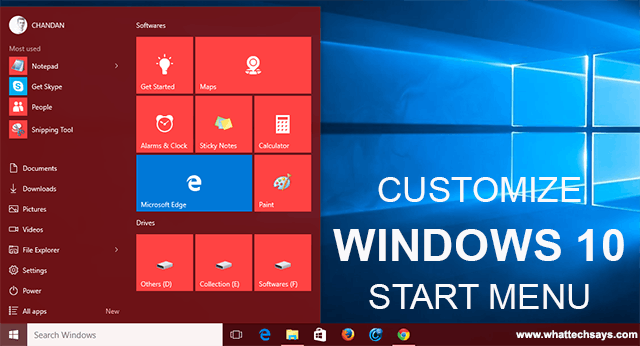
With the new stylish start menu, Windows 10 has combined the both features of Windows 7 and 8.1. In the left-site, the structure looks like the earlier versions of Windows start menu and shows almost everything, which was used to shown in the Start Menu of older Windows versions, whether its user documents, pictures, recent documents or all programs list. The Right-side contains the animated live tiles.

The interesting thing is that, the start menu is fully customizable. You can modify it as of your requirements. In this article, you’ll learn how to easily customize Windows 10 Start Menu.
Customize Windows 10 Start Menu
It is very easy to play with the new start menu items. You can Add, Remove, Edit items on the menu.
Resize Windows 10 Start Menu
In earlier versions of Windows, there is no way to resize the Start menu, but here you can. You can increase or decrease its height and width. Just move your mouse cursor to the Top-border or Right-border of Start Menu, and then you’ll be able to increase or decrease the Start Menu size.

Change Color of Windows 10 Start Menu
I have already shared an article to change title bar color in Windows 10. To change the start menu color, Open Start >> Settings >> Personalization >> Colors and turn of the “Automatically pick an accent color from my background” option. Now choose your desired color.
Must read: Increase Internet Speed in Windows 10
Choose Which Folders Appears on Start
By default, the start menu shows default user folders like Documents, Downloads, Pictures, Music, etc. To add or remove folders from the menu, go to Start >> Settings >> Personalization >> Start and select “Choose which folder Appears on Start” option. Now choose those folders which you want to appear in the start menu.

Change the Group Name
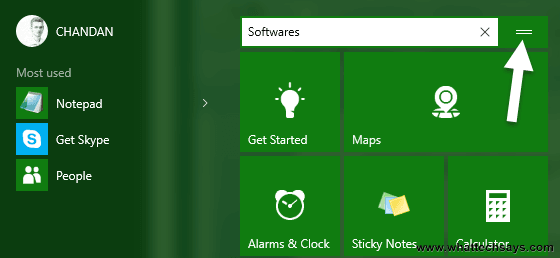
Tiles are arranged in a group wise. To change the name of a group, just click on the two lines at the top-right corner of each group to name and change the name what you want.

Add items in the Live Tile Section
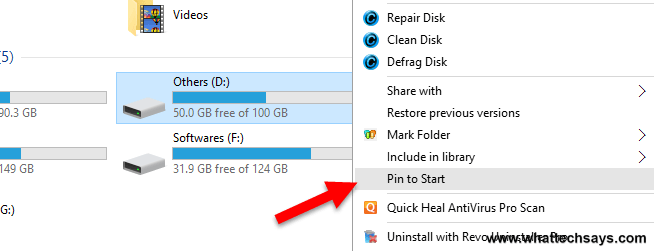
Add items as a live tile is very easy. You can pin any Drive, Folder and Software in this section, but can’t add a file directly. To add anything, just Right-click on it and click on Pin to Start option.

Turn Off Tiles Animation
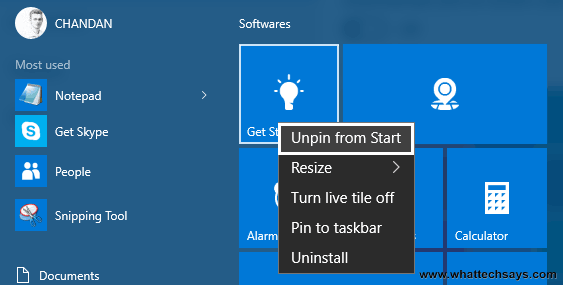
If you have apps like news, feeds, weather on the tile’s section, then they always show live animation. To stop a tile from this, just Right-click on it and click on “Turn live tile off” option.

Remove All tiles from Start Menu
There is no way to remove all tiles from Windows 10 start menu at once. However, you can remove one by one to clean the start menu from tiles. To remove a tile, just Right-click on it and select “Unpin from Start” option.

You can follow all the above procedures to customize Windows 10 start menu and give an attractive look to it. If you have any suggestion or problem regarding to this, feel free to comment below.